Your Cart is Empty

Tyson Farms, Oprah, Snoop Dogg, Kim Kardashian, Seth Rogan. Do any of these names ring a bell? The cannabis industry has come a long way in the past couple of years, starting as a fringe community that’s grown into to a billion dollar industry!
Now, we have celebrity influencers, gourmet cooking shows, travel documentaries, and a number of choices available to the discerning consumer. But with the legalization of cannabis also comes some hiccups. Quality and mass production becomes a topic, as well as taxes, legislation, and much more.
Many people want to start home growing their own cannabis, but maybe you have a ‘black thumb’ or are nervous about local growing laws.
There’s no need to worry - this outline will provide you with everything you need to get started.
Sit back, relax and let's dig right in!
Local growing laws vary quite a bit, so it's very important to read about yours before starting to grow at home. On a federal level, cannabis is still considered illegal and a schedule 1 drug. This means there is no regarded medicinal use as well as a high potential for abuse.
This is surprising considering the U.S. Government has patents on using CBD and THC (the two active components in cannabis) for inflammation and muscle spasticity, while many states already have booming medicinal and recreational markets.

It’s extremely important to become familiar with your local city growing laws, as some require doubled locked fences, often restrict you to indoor growing only, or require a minimum distance from public care facilities.
Others allow complete outdoor growing with a limit on the number of plants that can be cultivated. That’s why it’s important to check local cannabis growing laws BEFORE you invest in the materials to get started.
The smell is often another common complaint. You can elect to either grow indoors with a carbon filter fan or simply grow more citrus and fruity-smelling varieties. Long gone are the days of cannabis only smelling like skunk.
Now that you are familiar with your local growing laws, we can move on to the actual process of growing of the plant. If you search ‘growing cannabis’ you’re sure to find thousands of articles and information on hydroponics, soil, sun grown, indoor and outdoor gardening, and much more.
With so much information out there, it can be a bit overwhelming to start growing pot at home legally. Cannabis is a plant just like the tomatoes your grandma grows in her vegetable garden, or like the flowers in your front yard.
Save the hydroponics and synthetic fertilizers for the experts and professionals. Garden soil is the easiest and most approachable growing medium for cannabis cultivation.

Malibu Baby Bu’s potting mix will give you an idea of the ideal soil texture; loose, well-draining, and full of organic nutrients that work for seedlings and full-sized plants alike. If Malibu Baby Bu’s is not readily available, then anything marketed toward growing palms and cacti amended with a balanced organic fertilizer will work just as well.
Pro Tip: Look for something that says 5-5-5 or 8-8-8 across the front of the bag.
Now that we have our potting soil ready to go, all that’s left is selecting the size planter pot you want and a nice full-sun spot to begin your growing. The size of the planter will determine the size of the plant you end up with. Plant outdoors between the end of March and the start of May for warmer southern climates.
Expect harvest at the end of September through the start of November and keep in mind that different varieties (aka strains) will take longer than others to ripen and mature. If you get an early frost it will ruin all your hard work and through summer.
There are a number of warning signs to watch out for when caring for your home grown cannabis plants. Pests and diseases are the big ones to keep an eye out for. Among the most common of those are caterpillars, mold, and inclement weather.
If you see small white butterflies gracefully floating around in your garden and close to your plant, watch out! Especially around harvest time, you can end up with all the beautiful buds you painstakingly cultivated full of caterpillars and mold.
Other pests that are harder to identify are thrips, spider mites, aphids, and your neighbors. ‘Karens’ can be just as difficult to get rid of and often don't attack unless provoked.
Along with insects (and ‘Karens’) can come mold. Botrytis and powdery mildew are the most common offenders and are notoriously difficult to get rid of once established. However, not all insects and fungi are bad. There is a number of beneficial insects and mycorrizhae that can help keep the bad actors away and stimulate home plant growth.
An ounce of prevention is worth more than a pound of cure for the nasties we are talking about.
For safe prevention, I recommend a mixture of neem oil and some select essential oils such as lemongrass, rosemary, peppermint, and clove mixed with Dr. Bronner's peppermint soap. It is safe, natural, organic, and can be used until the first 3 weeks of flower with no harmful effects.
Think of this like plant food and plant nutrients!

Now, it’s time to harvest your plant. This is the most exciting part of all but also where you stand to mess up your hard work, so follow these directions and take your time!
First, clip the largest colas early in the morning before it gets too hot for the day. Hang the largest colas to dry in a cool area of the house with good ventilation.
Pro Tip: You will get the best results with 60% humidity, at 65 degrees (or cooler) for roughly seven days.
Next, place an oscillating fan close by for good air movement and to prevent mold. After roughly a week, the buds should bend and snap off the main branches.
Then, place the nicely dried buds into a mason jar for three to eight weeks for the curing process to start. Periodically cracking the lid and checking for moisture and trichome preservation.
All that’s left now is to give the branches a final trim, removing any water or sugar leaves. Leaving the cannabis buds in jars for longer can develop the terpene profile and convert THC to CBN which makes for more relaxing and sedating effects. This is an ideal option for people looking for medicinal and pain-killing effects.
Now, kick back, relax, grind, roll up, and enjoy your hard work!
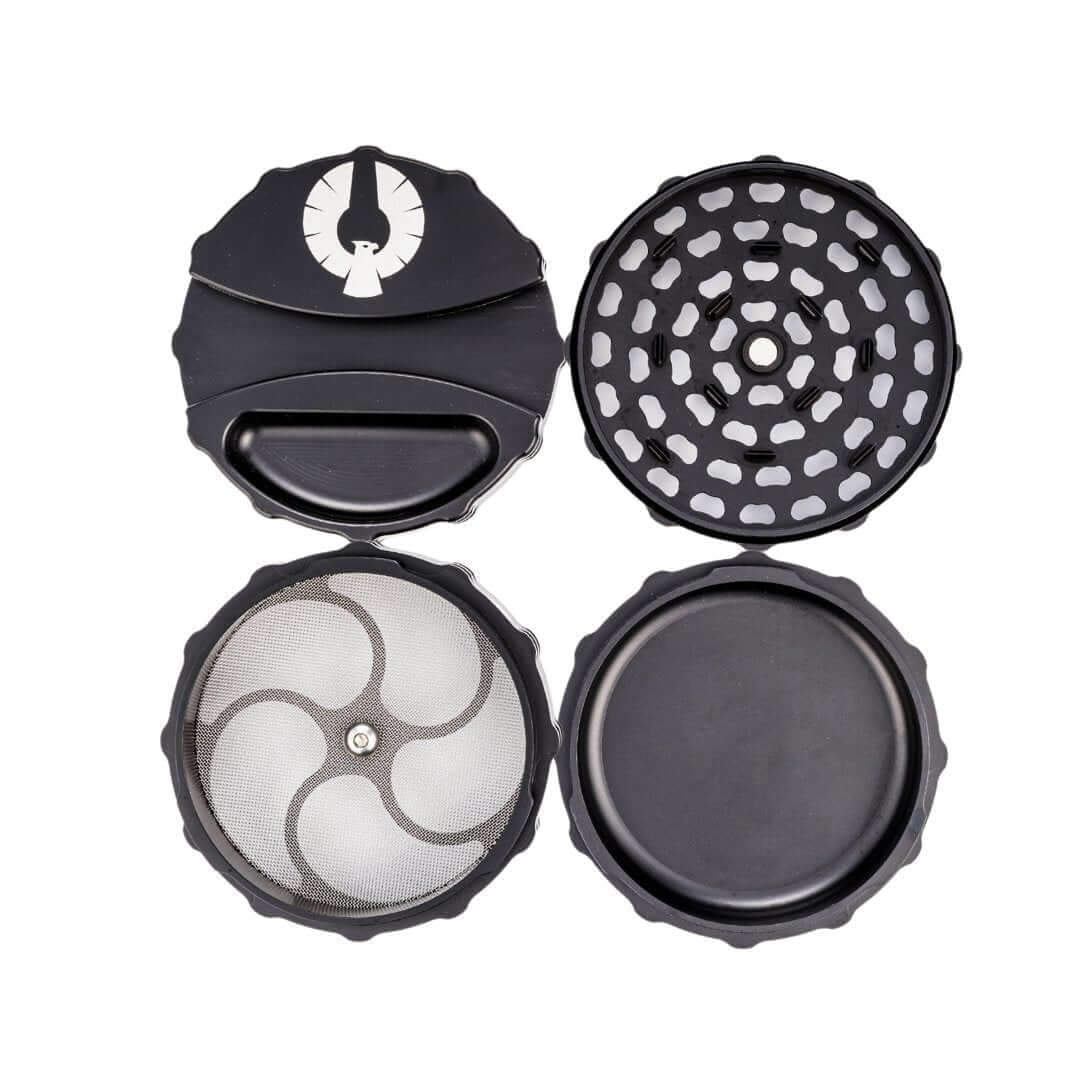
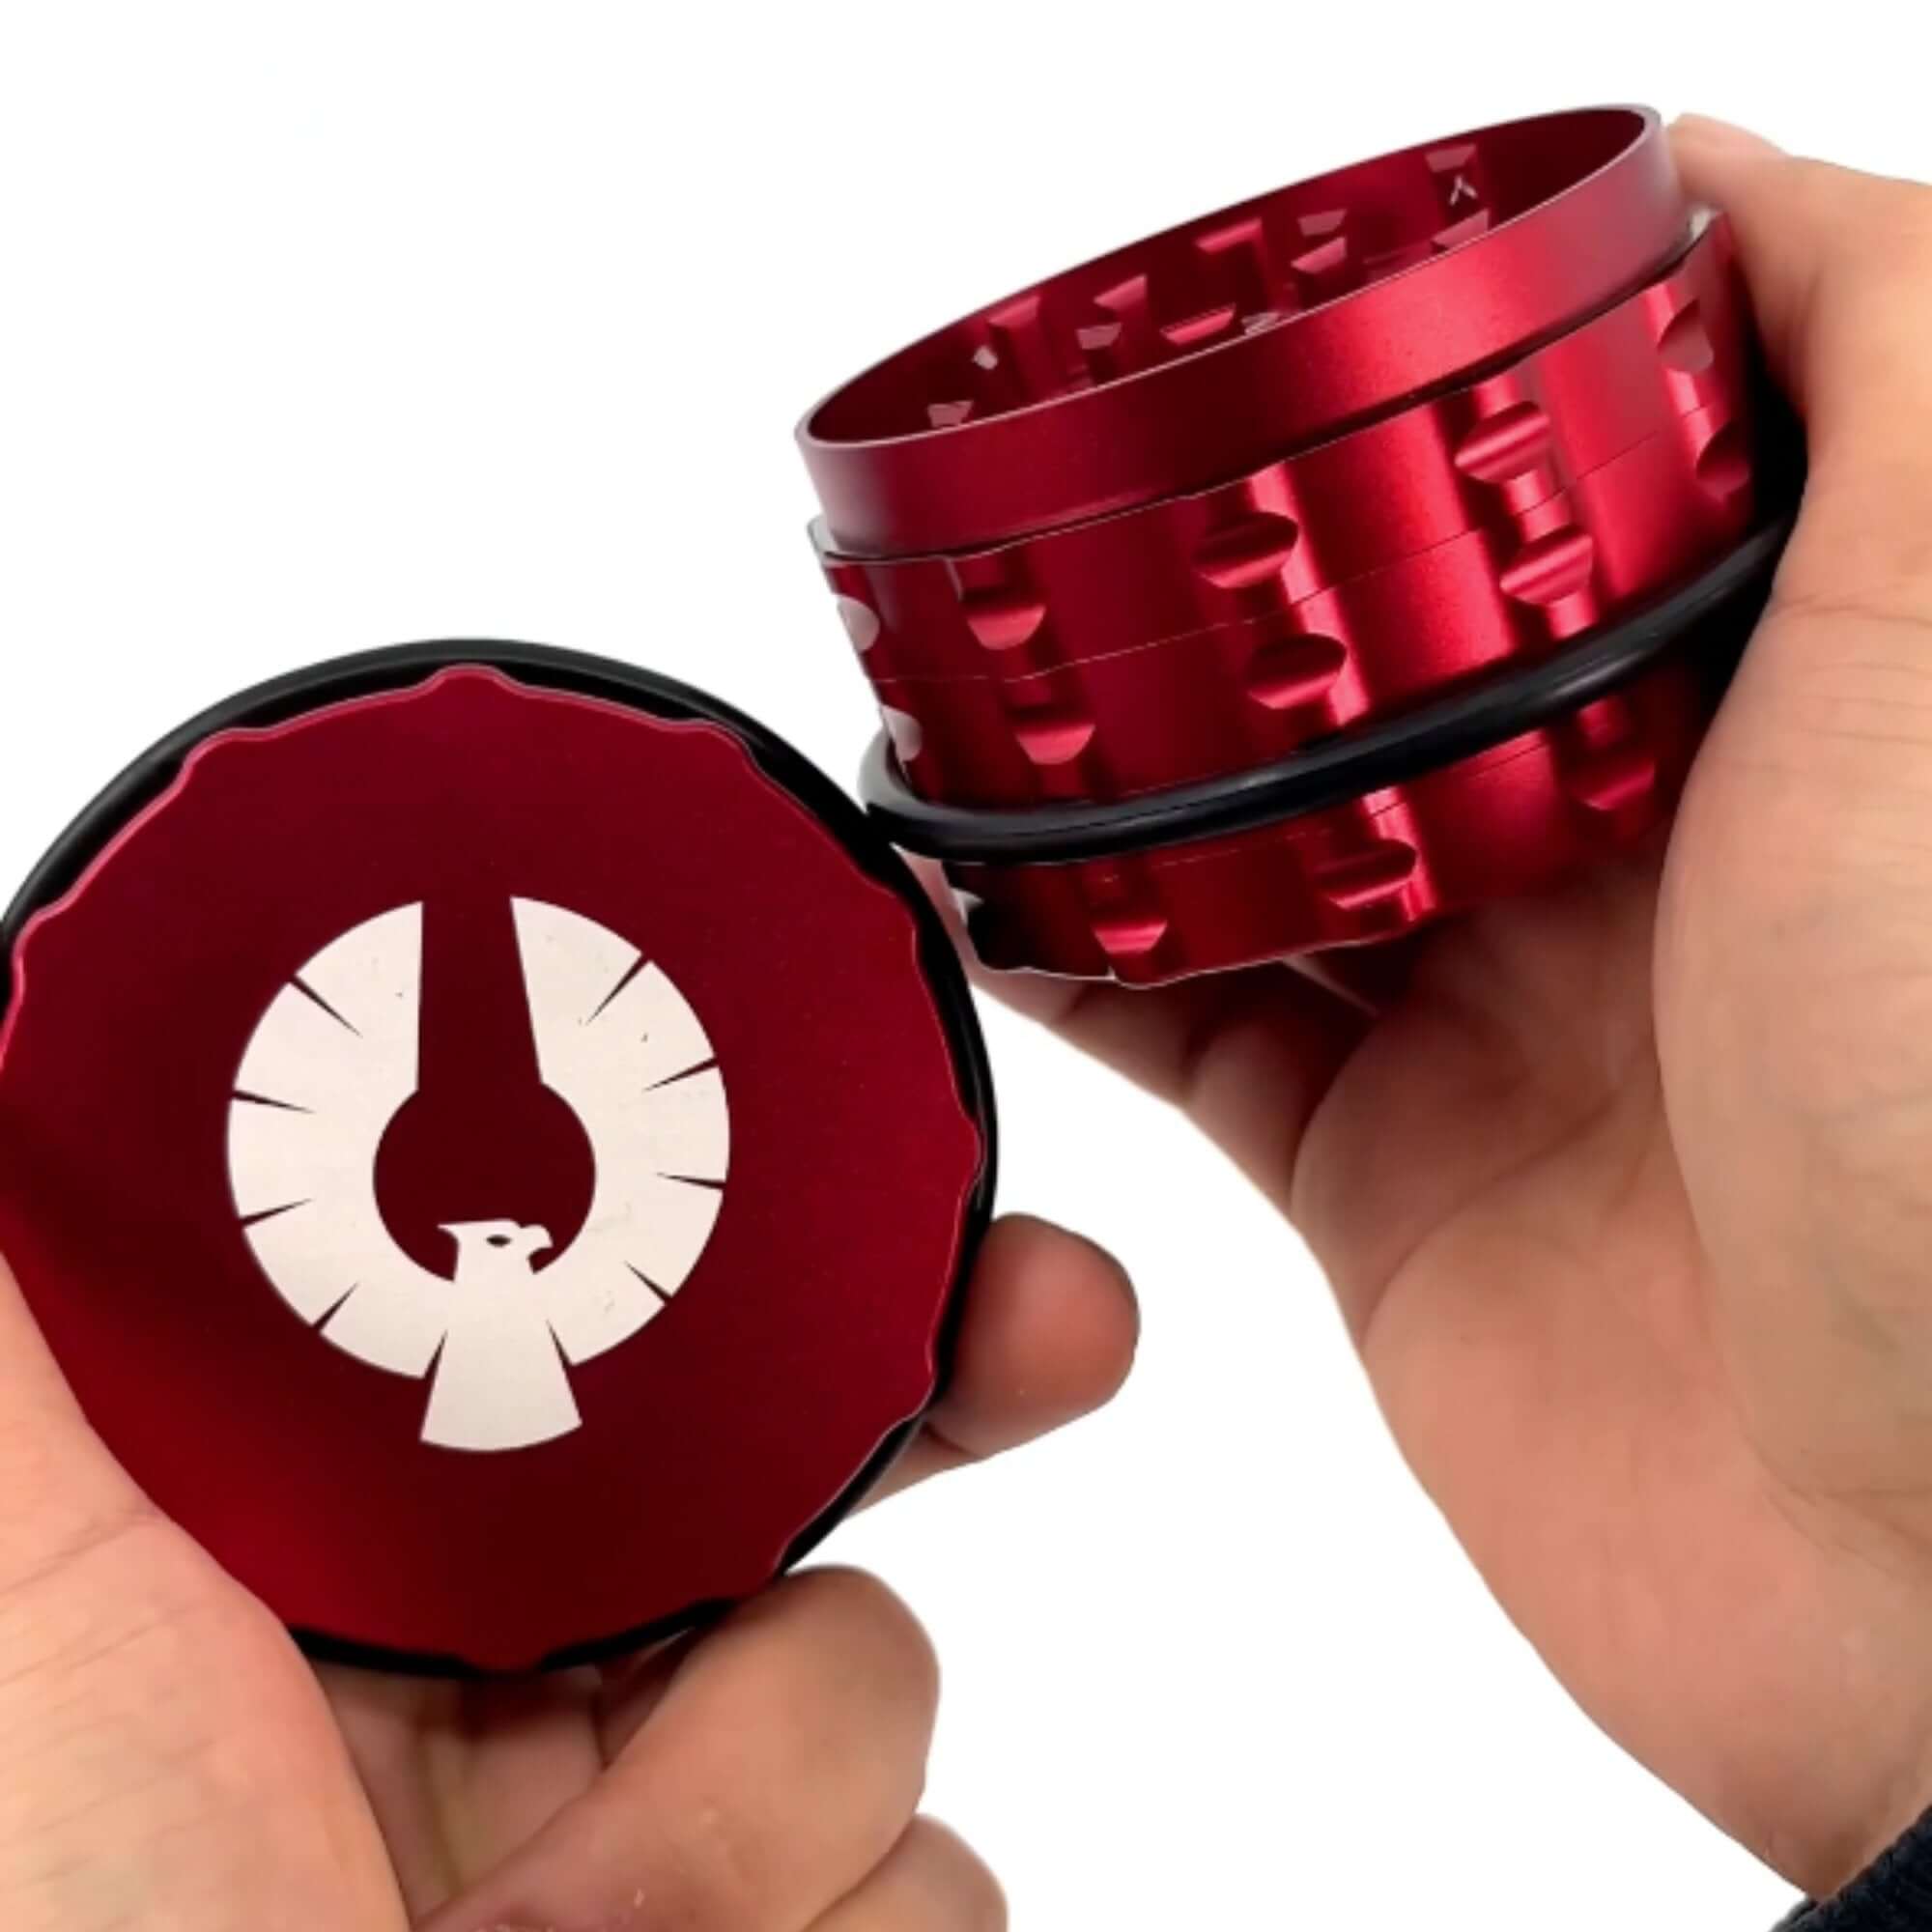
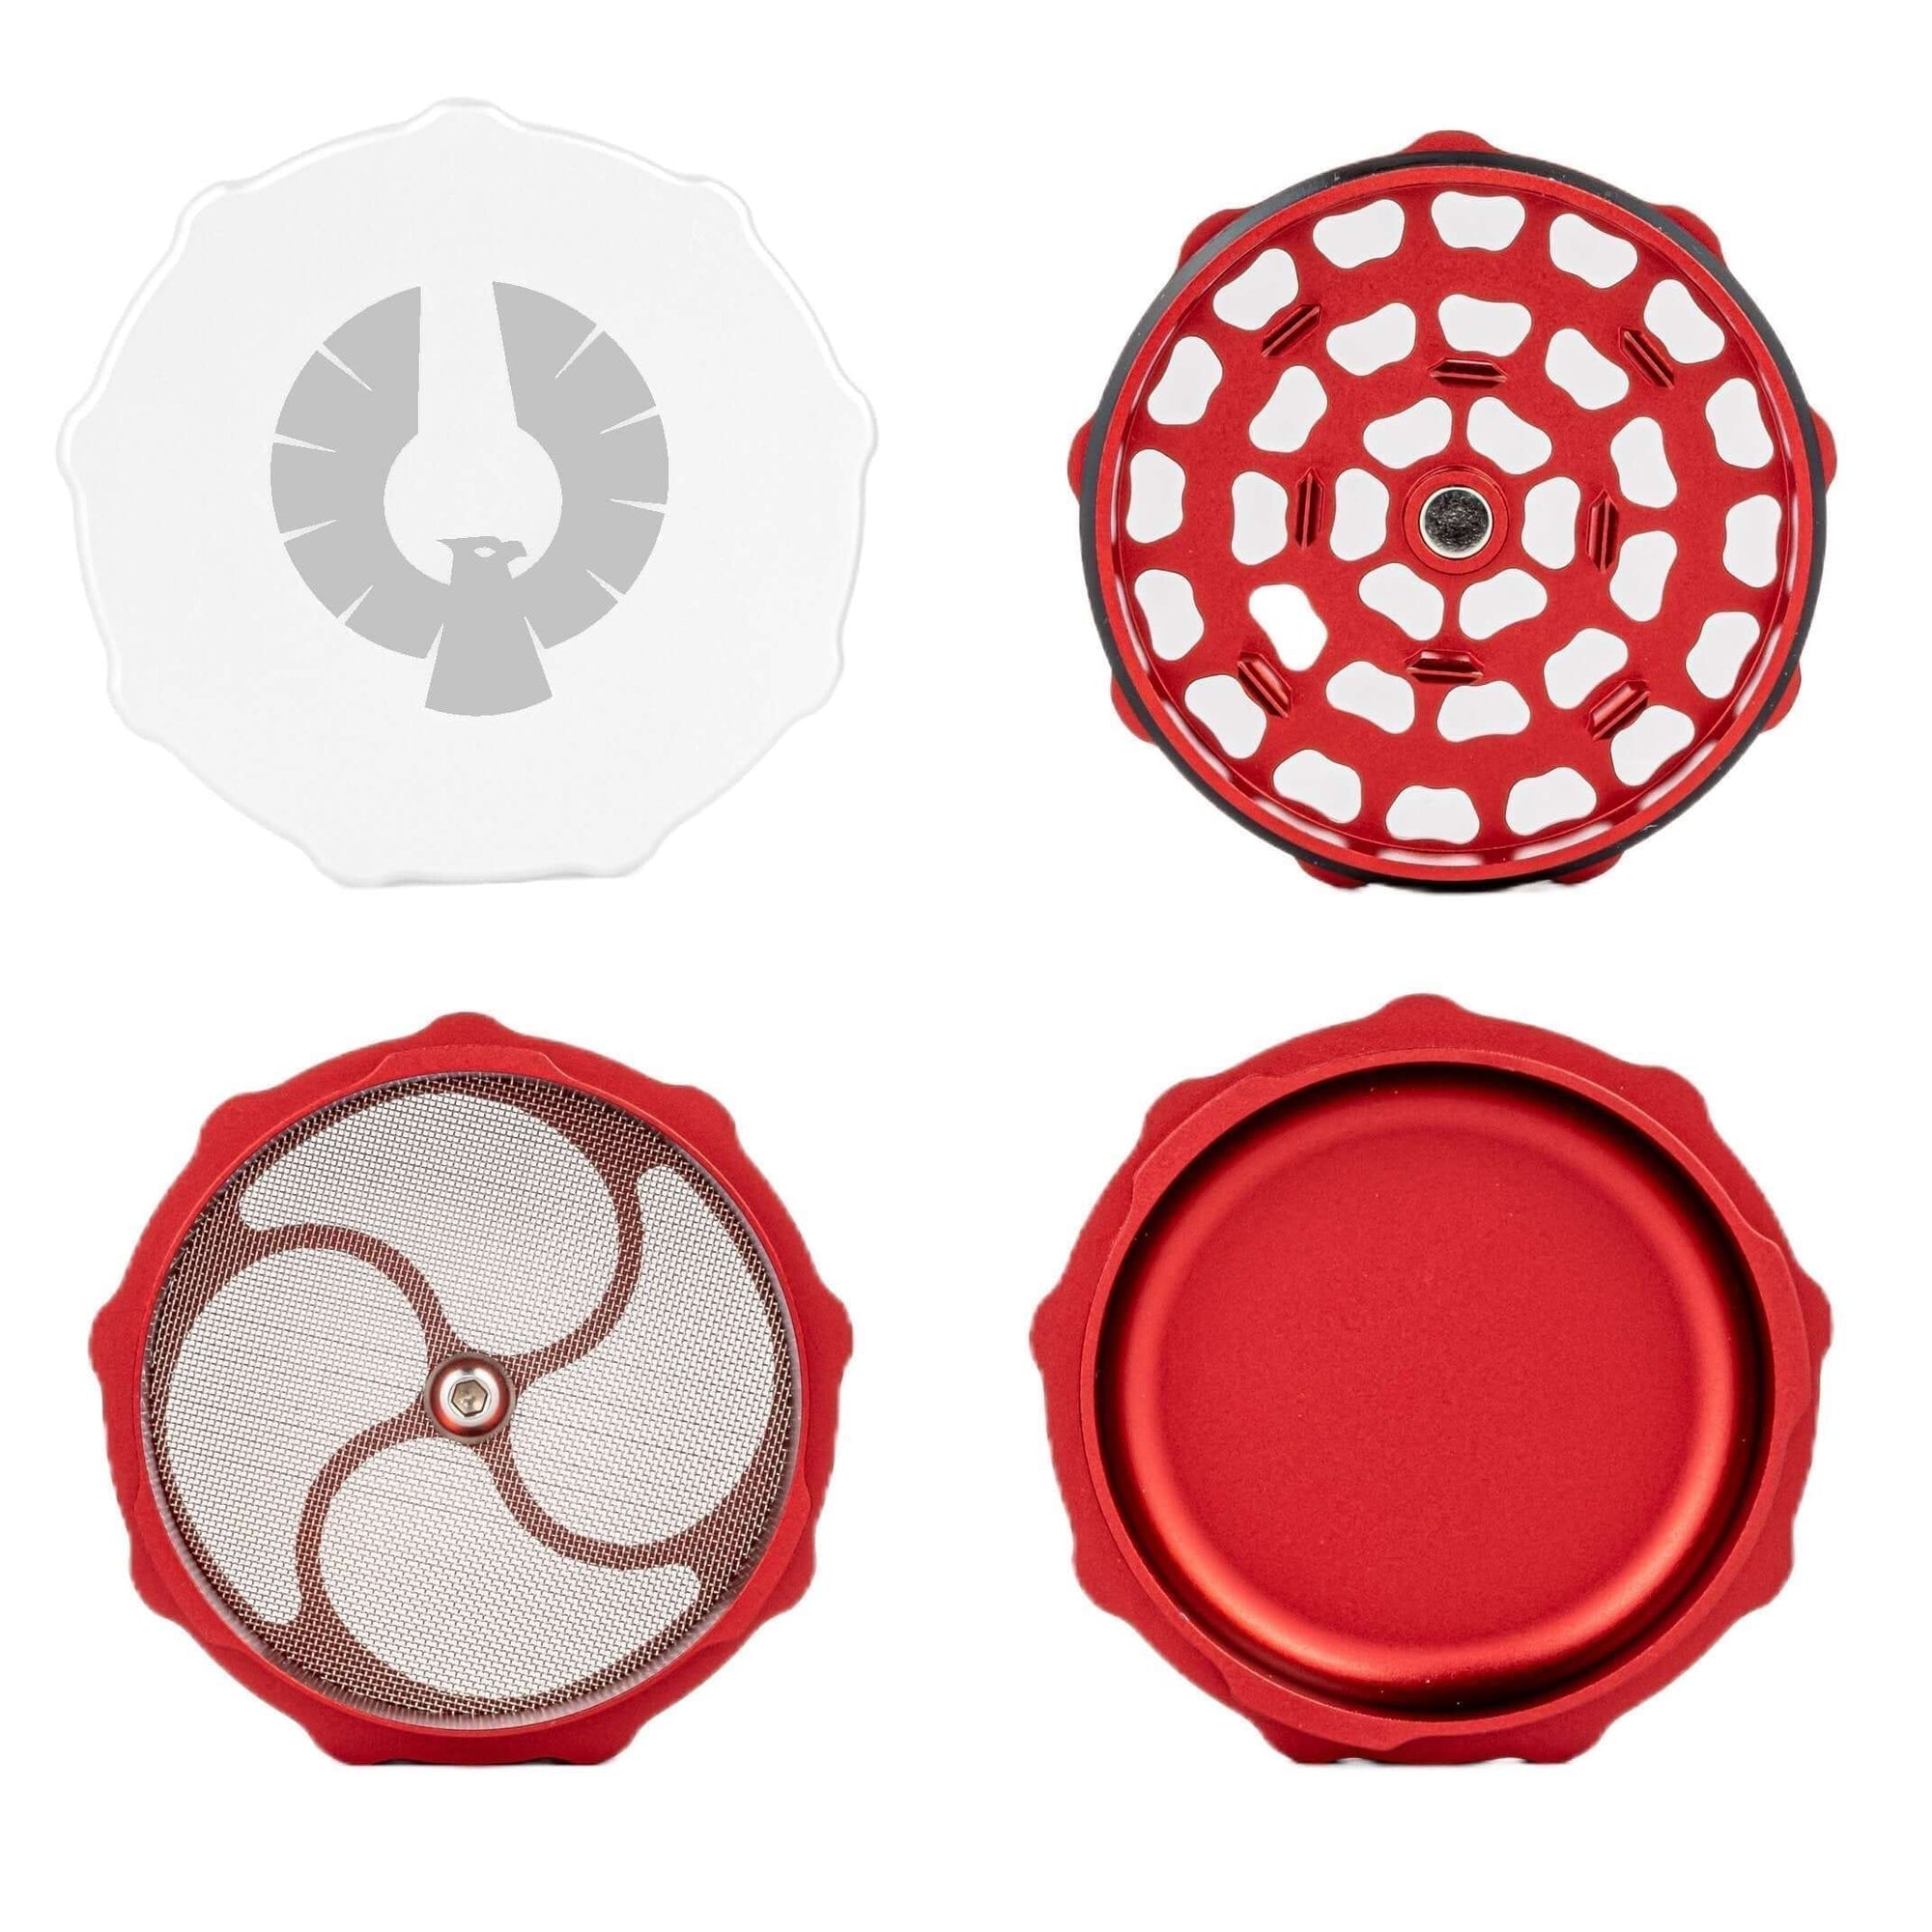
With the myriad of choices of glass, papers, and vaporizers it’s sure to be a treat. But, to ensure the absolute best grind…choosePhoenician Grinders.